

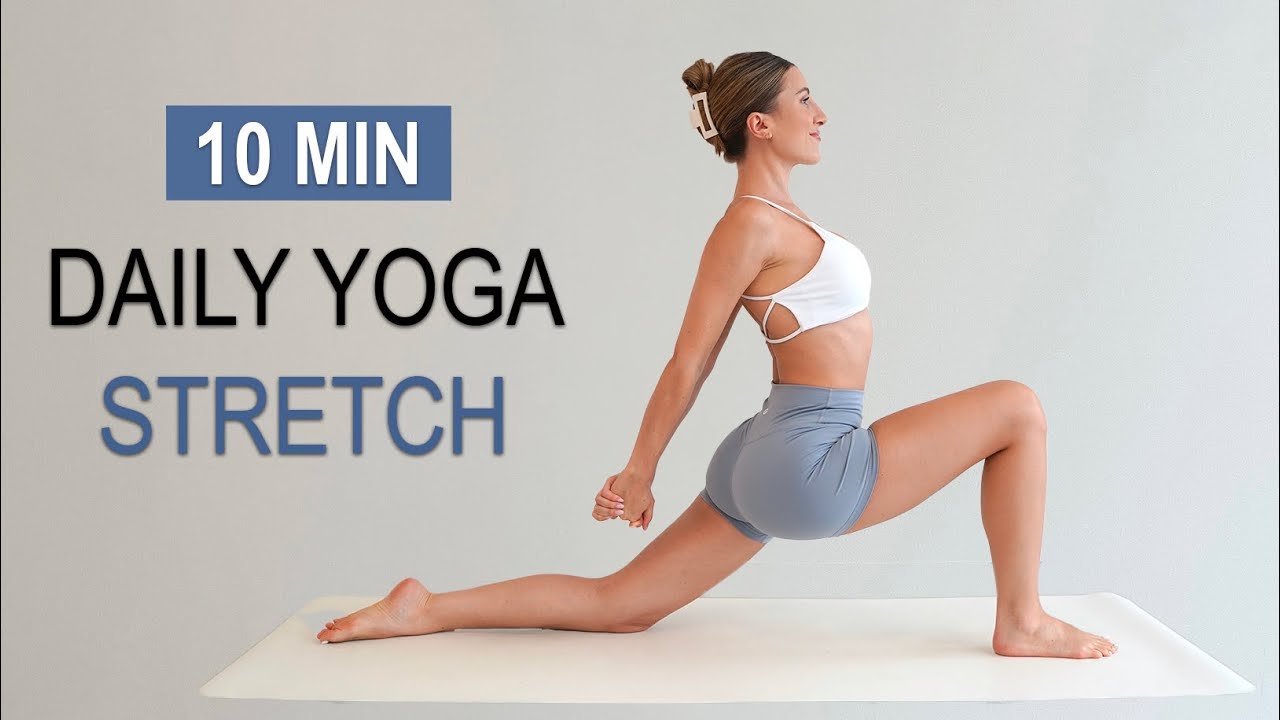
Whether you spend your days chained to a desk, or you are still feeling the heavy aftermath of yesterday’s heavy leg day session, your stiff muscles are crying out for relief. The good news? You do not need to commit to an hour-long, scorching hot yoga studio class to reap the rewards. Just a few minutes of mindful movement squeezed into a commercial break or right beside your workspace can work wonders.
According to fitness and yoga experts, incorporating as little as 20 minutes of targeted yoga stretches can drastically improve your overall flexibility, posture, and range of motion (ROM).
Understanding the Movement: Static vs. Dynamic Stretching
When you practice yoga for flexibility, you generally encounter two main types of stretching:
-
Static Stretching: Holding a single position long enough for your nervous system to signal your muscles that it is safe to unwind and lengthen. The American College of Sports Medicine notes that this takes at least 30 seconds, with benefits capping out at around one minute.
-
Dynamic Stretching: Adding gentle, controlled movement to a pose. If holding a static position feels overly challenging at first, dynamic flow is an incredible way to gradually build your ROM.
Beyond physical pliability, yoga acts as a powerful anchor for mental wellness. Breathwork (pranayama) plays an essential role. Inhaling and exhaling with intention guides the flow of energy through your body, helping you sink deeper into every posture.
If you are looking to build a balanced weekly routine, pairing these stretches with structured home workouts similar to those outlined in our guide on 10 Best Home Exercises for Fat Loss can help optimize your overall physical conditioning and lifestyle balance. For more wellness and modern living insights, feel free to explore our core philosophy over at What is BrassSmile?.
The 9 Essential Yoga Stretches for Full-Body Mobility
-
Time commitment: Under 20 minutes
-
Equipment needed: A comfortable yoga mat
-
Pro tip: Hold each static pose for 30 seconds. If you are pressed for time, pick 3 or 4 stretches that target your specific areas of tension. Always listen to your body!
1. Child’s Pose
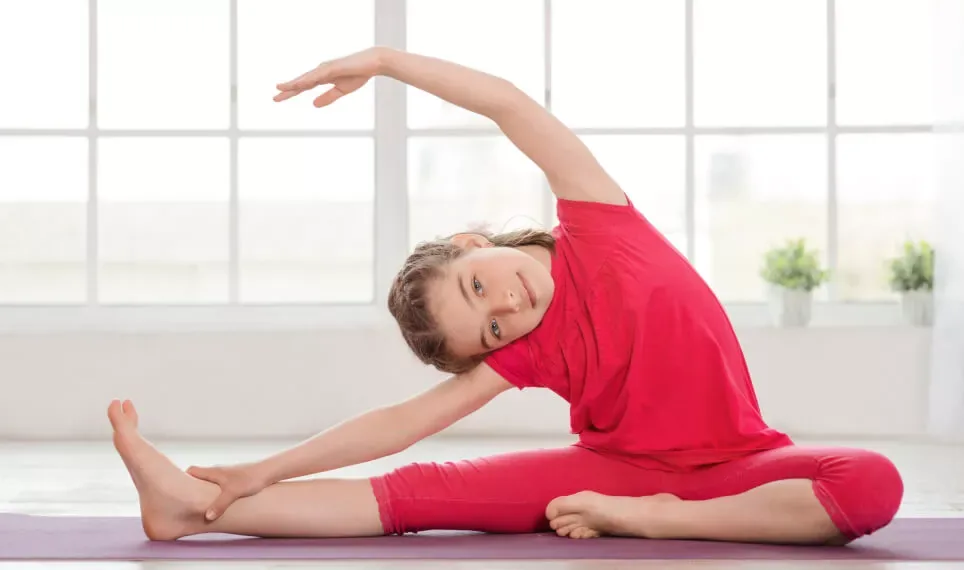
- Target Areas: Lower back, hips, thighs, and ankles.
-
How to do it: Start by sitting back on your heels with your big toes touching and your knees spaced wide apart. Walk your hands forward until your arms are fully extended, rest your forearms and forehead flat on the mat, and let your stomach sink comfortably between your thighs.
-
Breathing: Exhale deeply as you settle into the pose, then transition into slow, fluid breaths.
-
Modification: If your hips or lower back feel tight, place a yoga bolster or a stack of folded blankets lengthwise beneath your torso for support.
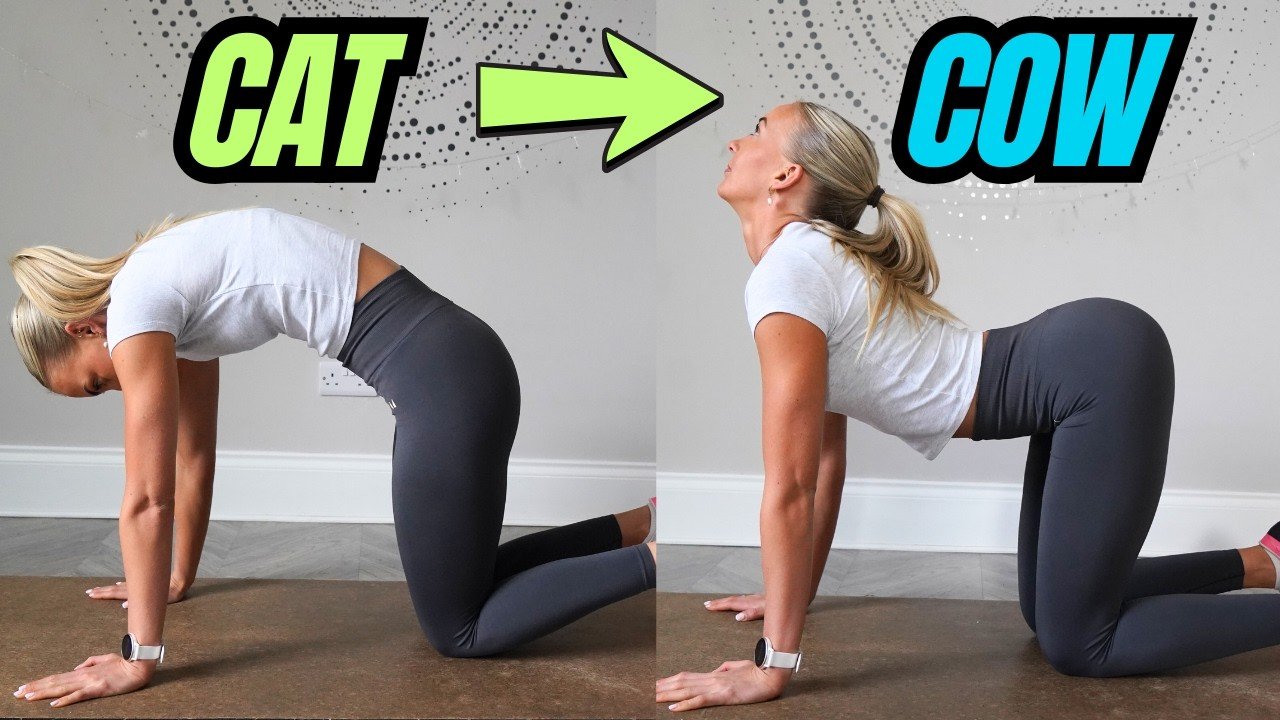
2. Cat-Cow
-
Target Areas: Spine and core.
-
How to do it: Begin on your hands and knees in a neutral tabletop position. Inhale as you drop your belly downward, lift your sit bones toward the ceiling, and draw your gaze upward (Cow). Next, exhale as you draw your navel inward, press firmly into the palms and the tops of your feet to round your upper back, and tuck your chin toward your chest (Cat).
-
Breathing: Inhale for Cow spine; exhale for Cat spine.
-
Modification: Reduce your range of motion if the backbend feels too intense for your spine.
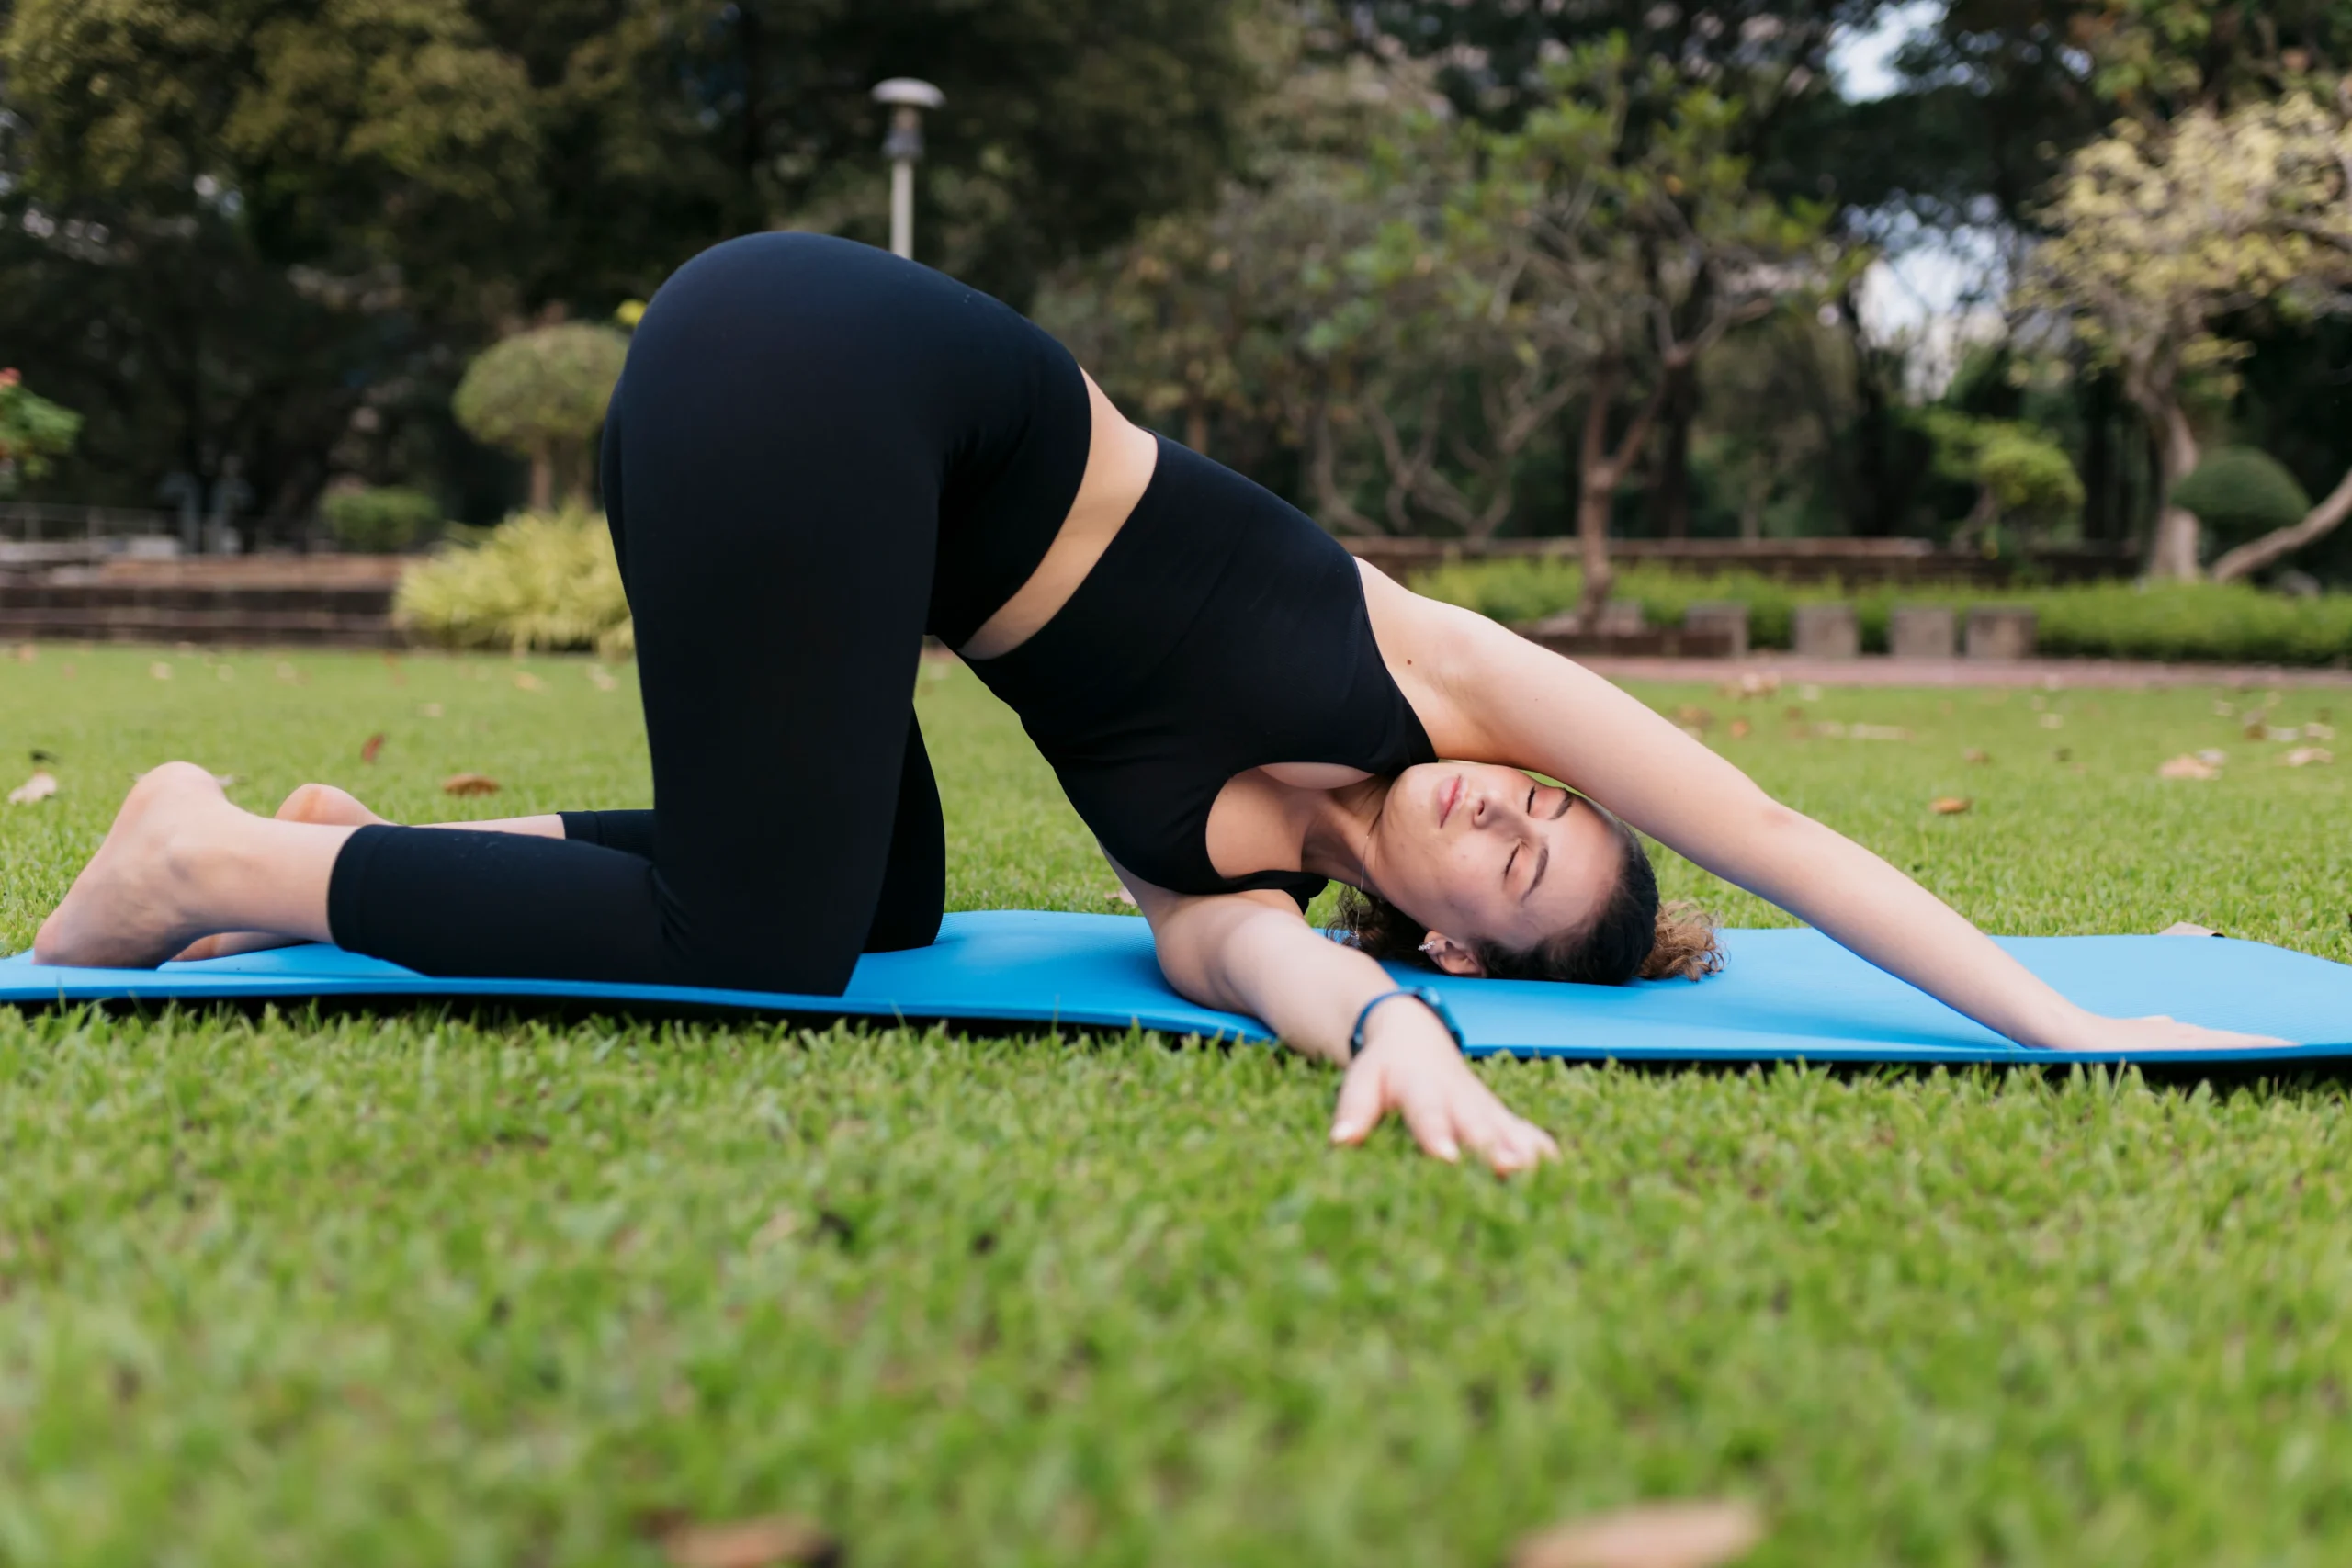
3. Thread the Needle
-
Target Areas: Shoulders, upper back, and neck.
-
How to do it: Start in a tabletop position on all fours. Lift your right arm toward the ceiling while gently twisting your torso to the right. Thread your right arm underneath your left armpit, bringing your right shoulder and right ear to rest gently on the floor while keeping your hips lifted high. Repeat on the opposite side.
-
Breathing: Inhale as you reach your arm toward the sky; exhale as you thread it through and rest your shoulder on the mat.
-
Modification: Squeeze a yoga block between your thighs to maintain proper alignment, or place a block beneath your resting shoulder for added elevation.
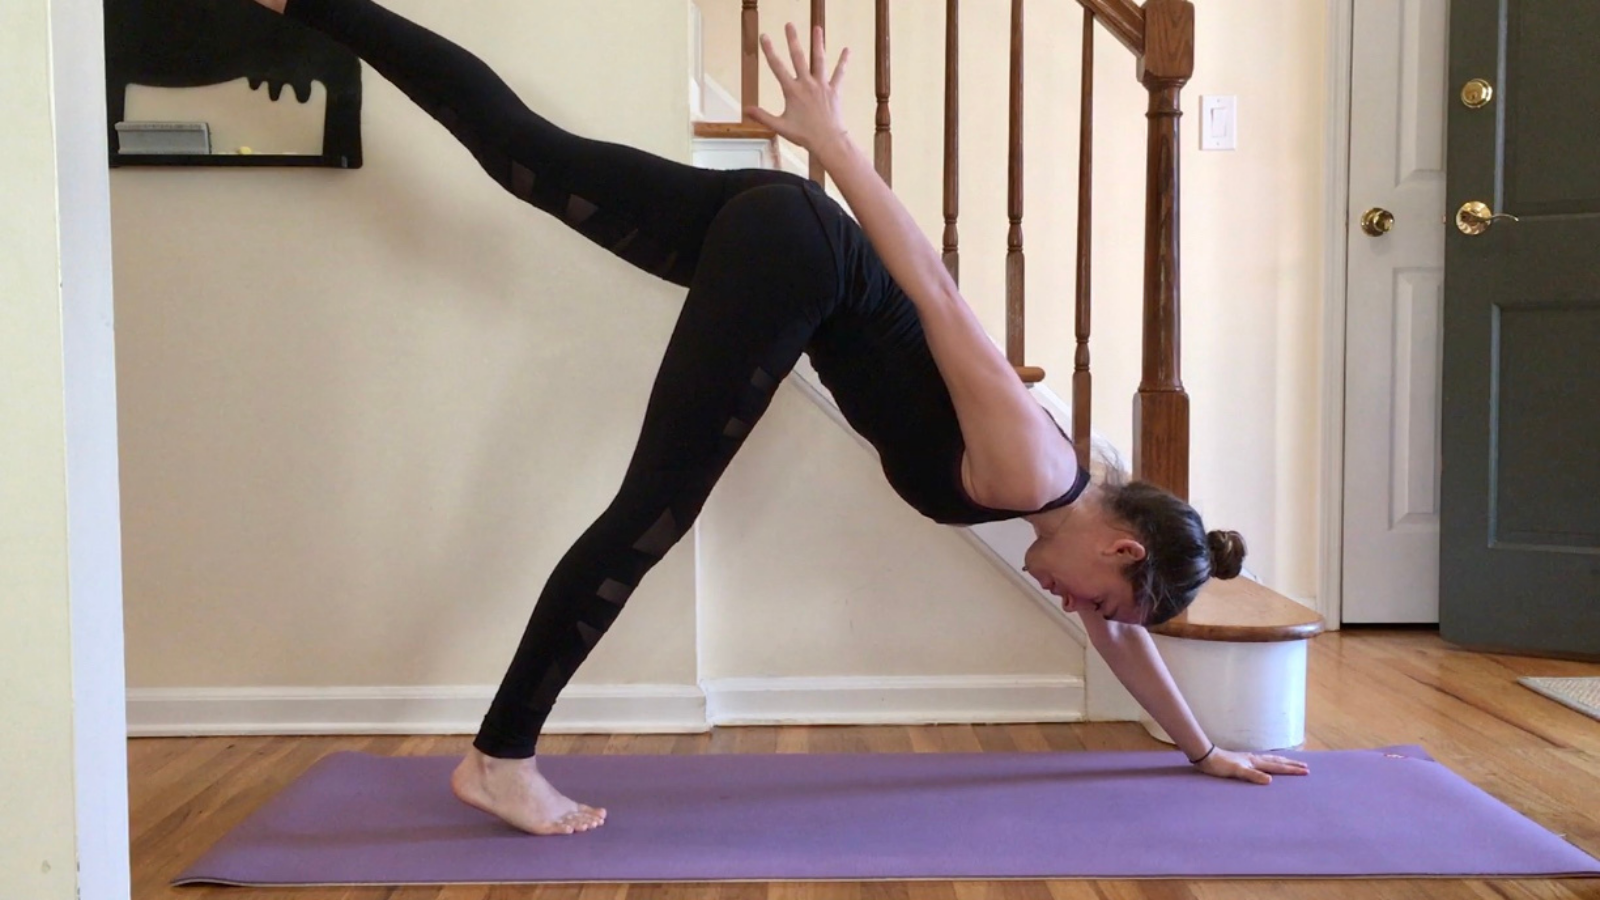
4. Downward-Facing Dog
-
Target Areas: Shoulders, hamstrings, calves, and the arches of the feet (a lifesaver for plantar fasciitis sufferers).
-
How to do it: From an all-fours position, tuck your toes, lift your hips skyward, and straighten your legs so your body forms an inverted “V” shape. Distribute your weight evenly back into your feet.
-
Breathing: Exhale to press up into the position, then breathe smoothly and naturally.
-
Modification: If your hamstrings or lower back are stiff, keep a generous bend in your knees and lift your heels slightly. You can also place a rolled towel under your heels for extra stability.
5. Cobra Pose
-
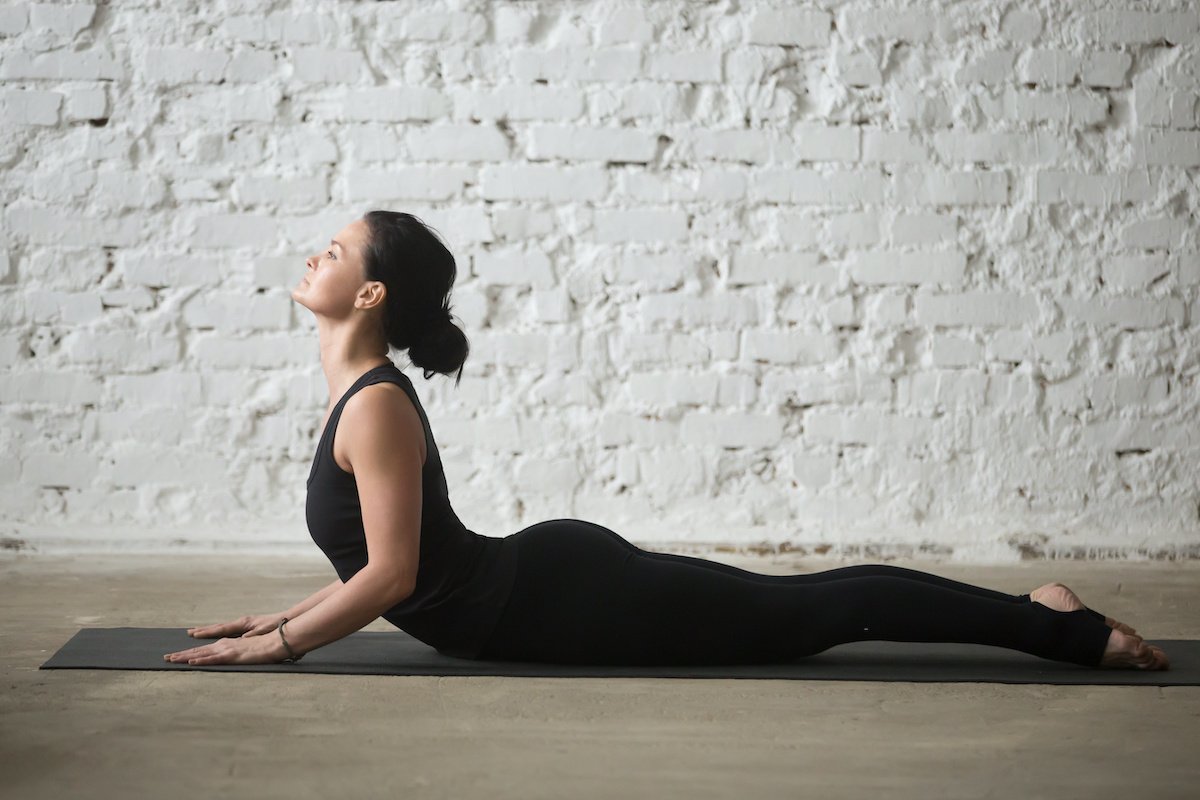
Target Areas: Lower back, hip flexors, chest, and shoulders.
-
How to do it: Lie facedown with your legs extended straight behind you. Place your palms flat on the floor right beside your ribs, keeping your elbows tucked close. Lift your head and chest a few inches off the mat while keeping your gaze neutral just ahead of your nose. Press lightly through your palms to lift your upper body slightly higher, stopping immediately if you feel pinching in your lower back.
-
Breathing: Inhale to lift your heart away from the mat; exhale to lower back down.
-
Modification: If full extension hurts your lower back, keep your forearms flat on the mat and lift only halfway up.
6. Chair Pose
-
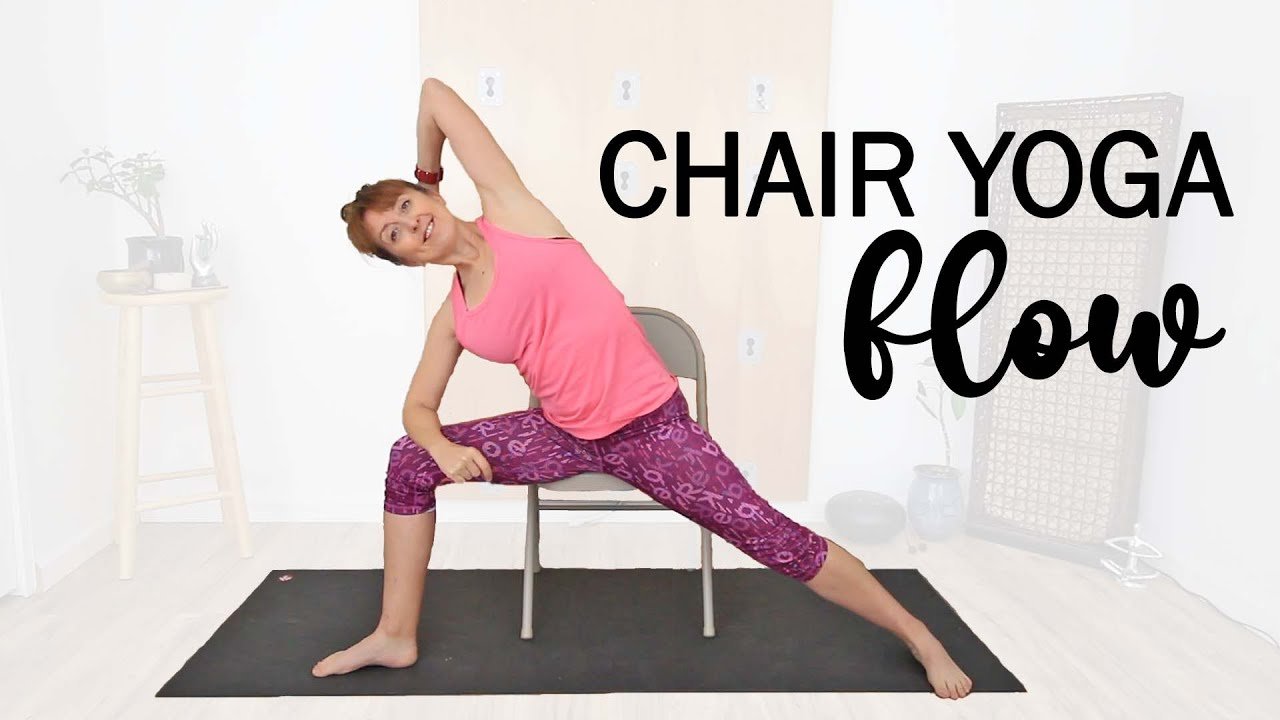
Target Areas: Glutes, calves, and shoulders.
-
How to do it: Stand tall with your feet together and arms resting at your sides. Inhale as you bend your knees and push your hips back and down as if sitting in an imaginary chair, simultaneously raising your arms overhead with your biceps framing your ears.
-
Breathing: Inhale as you sink into the squat and raise your arms; hold steady with fluid breathing.
-
Modification: If balancing is tricky or your knees feel strained, practice with your back resting against a wall for support.
7. Upward-Facing Dog
-
Target Areas: Chest, thighs, shoulders, spine, and ankles.
-
How to do it: Lie flat on your stomach with your legs extended behind you and palms placed flat next to your ribs. Press down firmly through your palms to straighten your arms entirely, lifting your torso, thighs, and shins completely off the floor. Draw your shoulders down away from your ears and look straight ahead.
-
Breathing: Inhale as you press up into the posture, then maintain steady, regular breaths.
-
Modification: If lifting your entire body from the floor causes lower back strain, lift only halfway or slide a rolled blanket underneath your thighs for extra padding.
8. Low Lunge Twist
-
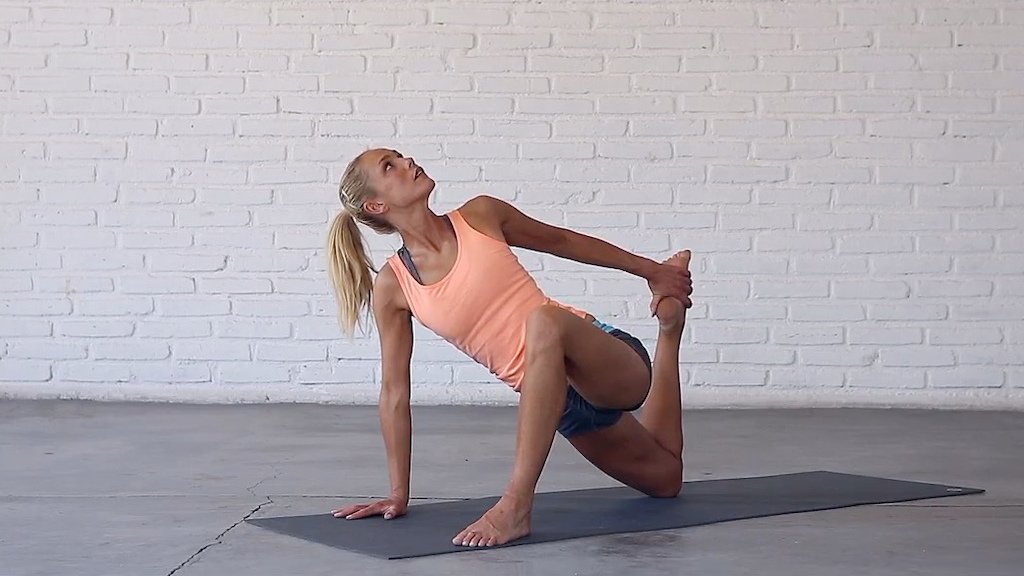
Target Areas: Hips, hamstrings, thighs, core, and spine.
-
How to do it: Step your right foot forward to the outside of your right hand from a high plank or tabletop position. Keep your back leg strong and engaged, lifting your back glute in line with your front hip. Reach your right arm up toward the sky, twisting your torso open.
-
Breathing: Exhale to settle into the lunge, inhale to reach your arm up, and breathe fluidly as you hold.
-
Modification: Drop your back knee down to the floor to reduce lower-body strain and focus entirely on the thoracic twist.
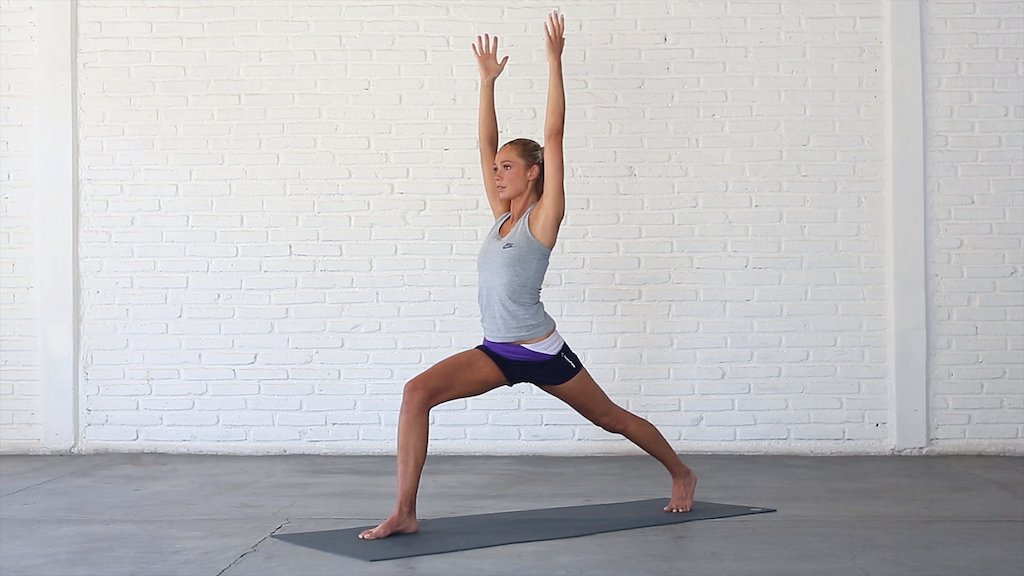
9. High Lunge
-
Target Areas: Thighs, hips, calves, and ankles.
-
How to do it: Start standing at the top of your mat. Fold forward briefly, place your fingertips on the floor, and step your left foot far back so your right knee forms a crisp 90-degree angle. Lift your torso upright until your shoulders stack directly over your hips, and extend both arms overhead with your biceps by your ears. Repeat on the other side.
-
Breathing: Exhale as you step back into the lunge; inhale as you sweep your arms overhead.
-
Modification: If your front leg wobbles, gently lower your back knee to the floor or rest your hands on your hips to stabilize your balance.